November 9, 2026
Few home improvements change the look of a property as quickly as fresh sod. In a single day, a patchy, weedy, or bare yard can become a thick, green lawn that's ready to enjoy. That instant transformation is a big reason so many homeowners choose sod over seed. Still, getting great results takes more than simply rolling out grass. Below, we'll walk through what homeowners should know before scheduling sod installation, so your new lawn gets off to the best possible start.
Choosing the Right Time of Year
Timing plays a big role in how well new sod takes root. In many areas, spring and early fall are ideal because temperatures are mild and rainfall is more consistent, which reduces stress on the grass while roots develop. Summer installation is possible, but extreme heat can dry out sod quickly and requires more careful watering. Late fall can also work as long as the sod has time to root before the ground freezes. Planning ahead helps you secure a time that fits your schedule and gives your lawn the best conditions for success. Booking early is especially helpful during busy spring and fall seasons, when calendars fill up quickly. Scheduling your sod installation around the weather forecast can also help, since installing right before a heat wave adds extra stress to new grass.
Testing and Preparing the Soil
Healthy soil is the foundation of a healthy lawn. Before sod installation, it's a good idea to understand your soil's condition, including its pH, nutrient levels, and texture. Compacted or nutrient-poor soil can make it hard for roots to grow, even if the sod looks great on day one. Proper preparation may include loosening the soil, adding topsoil or compost, and correcting imbalances based on test results. Taking the time to improve the soil now can lead to stronger roots, better color, and fewer problems down the road. It's one of the most important steps, even though it's hidden once the grass goes down.
Clearing and Grading the Area
Before new sod can be laid, the area needs to be cleared of old grass, weeds, rocks, roots, and debris. Leaving old vegetation in place can cause uneven surfaces and allow weeds to push through the new lawn. Grading is another key step in the process. The ground should be smooth and gently sloped away from your home so water drains properly instead of pooling near the foundation. Low spots can collect water and drown roots, while high spots may dry out too quickly. A well-graded yard gives your new lawn an even, professional finish and helps it grow consistently from edge to edge.
Selecting the Right Grass Type
Not every type of grass is suited to every yard. Some varieties thrive in full sun, while others handle shade better. Certain grasses hold up well to heavy foot traffic from kids and pets, while others are better for low-traffic areas. Climate also matters, since some grasses perform best in cooler regions and others are built for heat. Think about how much sun your yard gets, how you plan to use it, and how much maintenance you're willing to do. Choosing the right grass for your conditions helps your lawn stay healthy and attractive for years.
Planning for Watering
Water is the most important factor in the first few weeks after installation. According to Iowa State University Extension, newly installed sod generally requires daily watering for the first seven to 10 days and takes approximately 10 to 14 days to establish roots in the soil. During this period, the goal is to keep the sod and the soil underneath consistently moist without creating puddles. Once roots begin to take hold, watering can gradually become less frequent but deeper, encouraging roots to grow down into the soil. If you have an irrigation system, check that it covers the entire area evenly before your sod installation date. Planning your watering schedule ahead of time helps you avoid dry spots and wasted sod.
Measuring Your Lawn Accurately
Accurate measurements help you order the right amount of sod and avoid delays or extra costs. Measure the length and width of each area you plan to cover, and break irregular spaces into smaller sections to make calculations easier. It's usually smart to add a little extra to account for cuts around curves, trees, flower beds, and walkways. Ordering too little can leave you with gaps and mismatched patches if additional sod comes from a different batch. A professional estimate can take the guesswork out of measuring and help you plan your budget with confidence. It also helps your crew bring the right amount of material on installation day.
Preparing for Installation Day
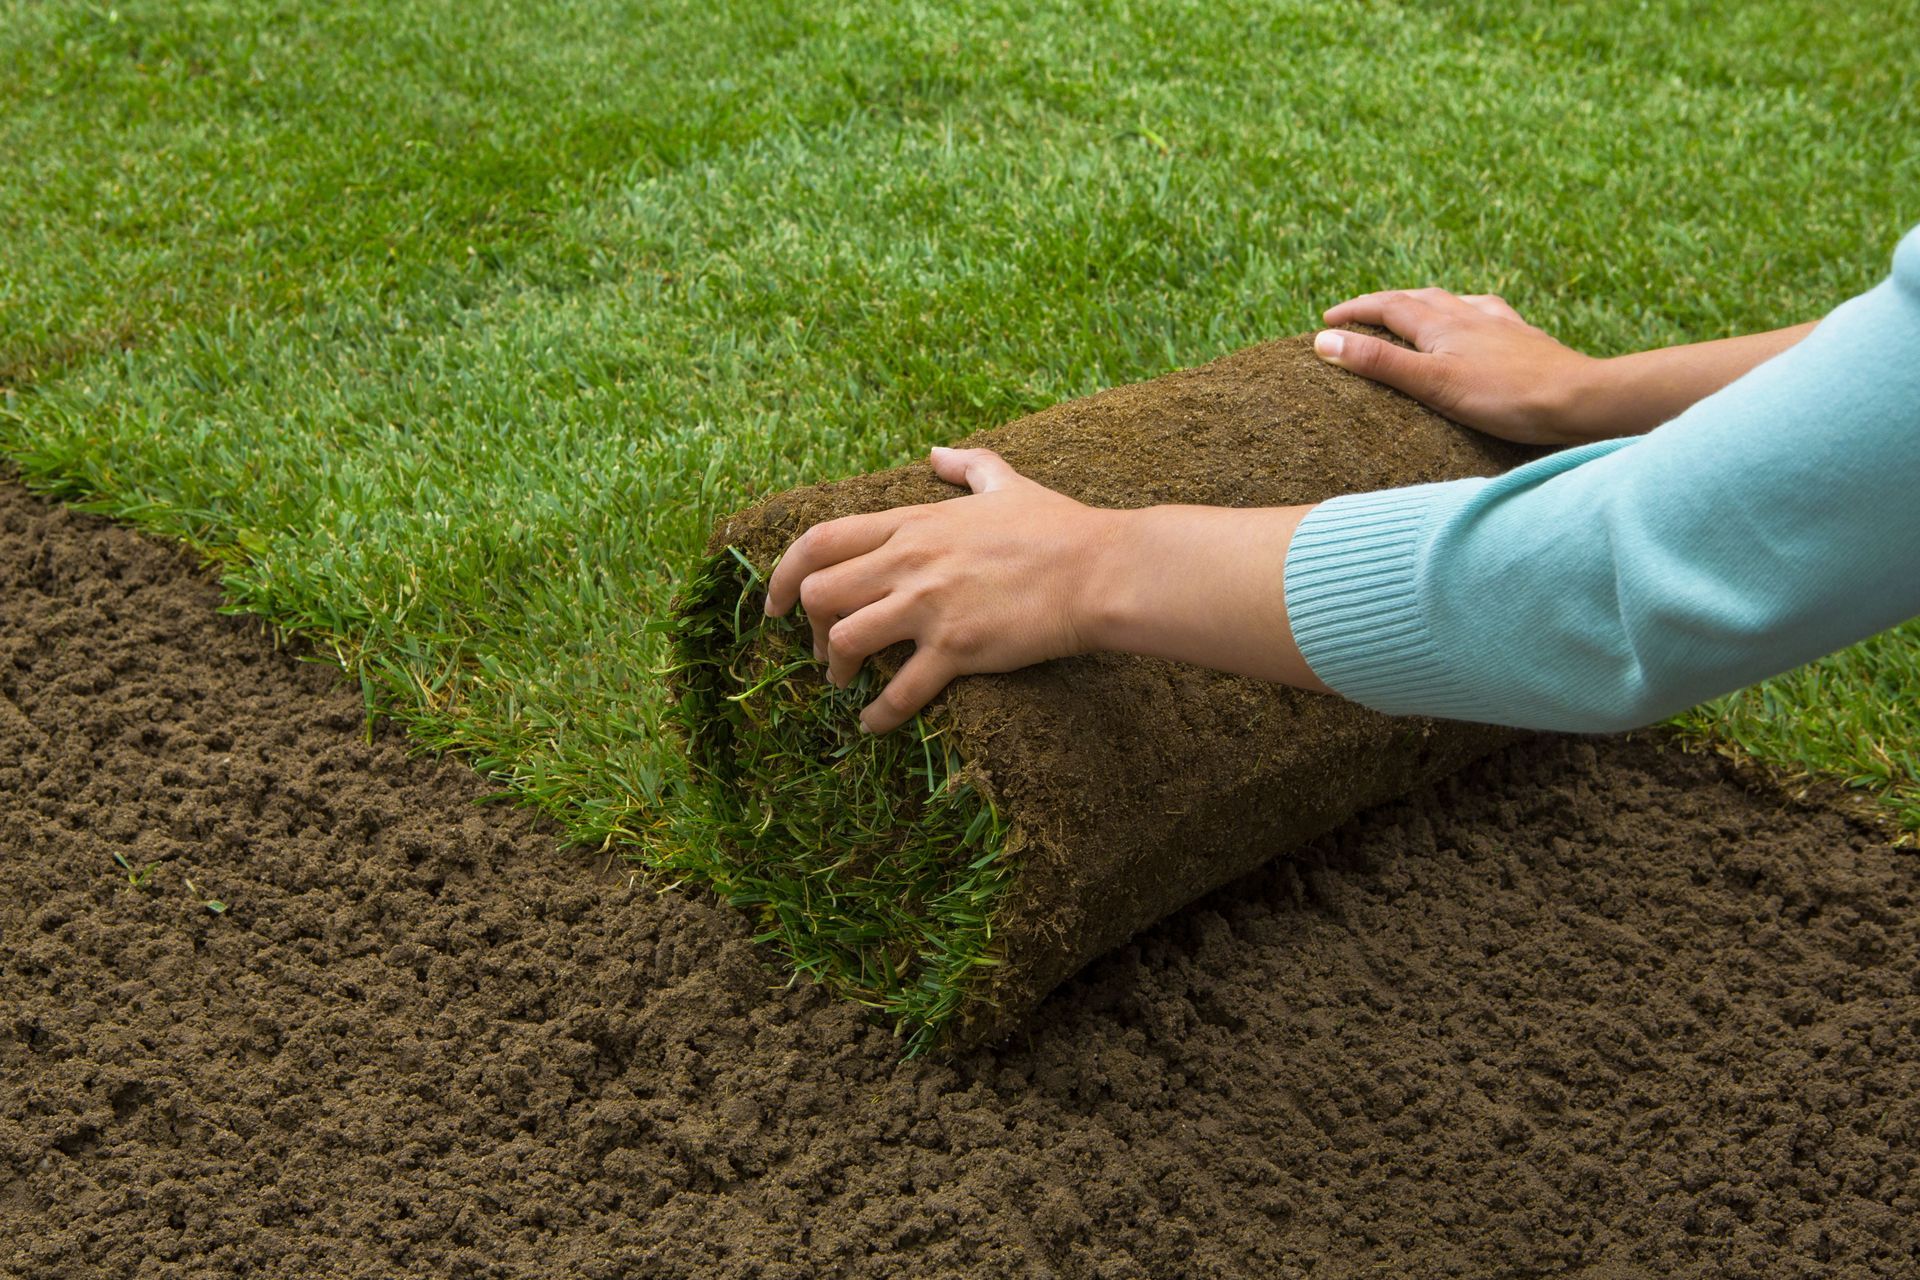
Sod is a living product, and it starts to dry out soon after it's harvested. That's why it should be installed as quickly as possible after delivery, ideally on the same day. Before your scheduled date, confirm the area is accessible and clear of vehicles, outdoor furniture, toys, and other obstacles. Mark sprinkler heads, utility lines, and other hidden features so they aren't damaged during installation. If you have pets, plan where they'll stay while the work is being done. A little preparation helps your crew work efficiently and get your new lawn in place quickly.
Protecting New Sod From Foot Traffic
Once your sod is installed, it needs time to settle in. Walking on new sod too soon can shift the pieces, create gaps, and disturb young roots before they've anchored into the soil. Try to keep kids, pets, and visitors off the lawn as much as possible for the first few weeks. If you need to cross the area to adjust sprinklers or hoses, step lightly and avoid the same path every time. A gentle tug on a corner of the sod can help you check whether roots have started to grip the soil. Patience during this stage pays off with a stronger, more resilient lawn.
Planning the First Mowing and Fertilizing
Your new lawn will need its first mowing once the roots are established and the grass has grown to the recommended height for its variety. Mow with a sharp blade and avoid cutting off more than a third of the grass blade at once, which can stress young turf. Fertilizing too soon or too heavily can also harm new sod, so it's best to follow a schedule based on your grass type and soil conditions. After the first few weeks, you can gradually shift into a regular maintenance routine. Asking your installer for care guidelines helps you protect your investment and keep your lawn looking its best.
At Ramos Landscaping LLC, we know a beautiful lawn starts long before the first roll of sod is laid. Our team handles every step of sod installation, from clearing and grading to soil preparation and careful placement, so your new lawn has the strong foundation it needs. We'll help you choose the right grass for your yard, plan the best timing for your project, and share clear care instructions to help your lawn establish quickly. If you're ready to transform your yard with professional
sod installation, we're here to help. Contact Ramos Landscaping LLC today to schedule your estimate.